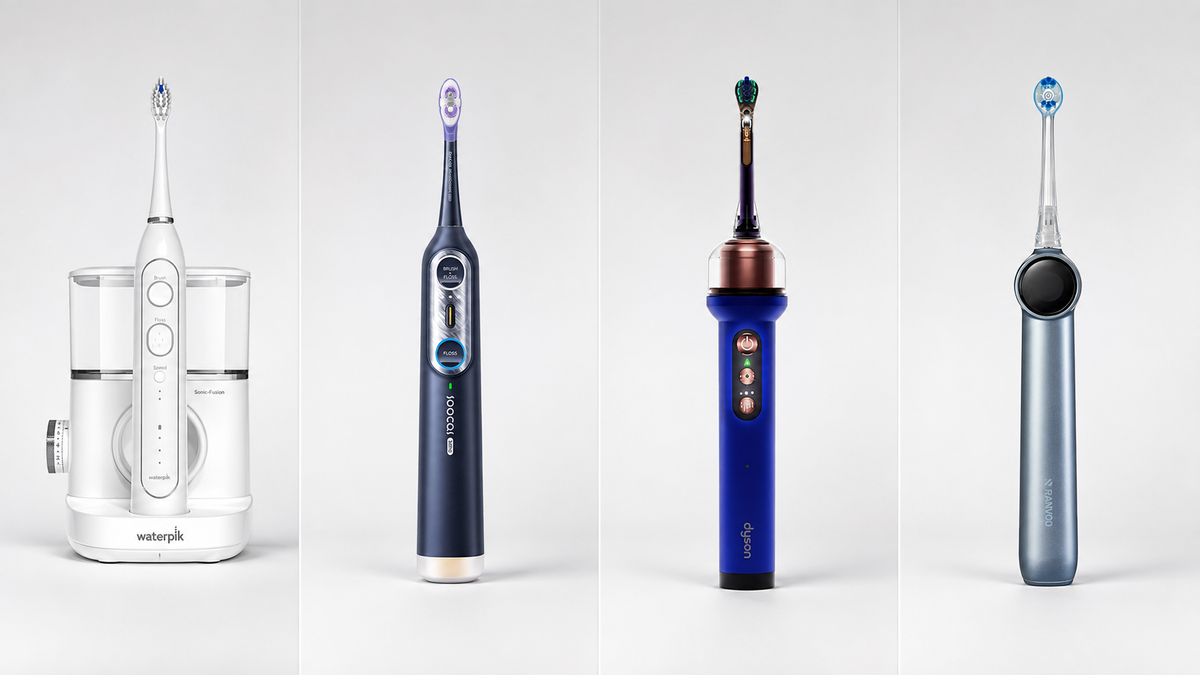




Keeping your electric toothbrush clean isn’t just about looks—it’s about stopping bacterial colonies, mold, and toothpaste gunk from wrecking your oral health and killing your brush’s motor.
Your electric toothbrush is a precision tool that deserves daily care. Without a consistent cleaning routine, it turns from a health device into a microbial hotel. Below, we break down exactly what to clean, when to clean it, and how to do it so your brush stays powerful and safe.
Why Cleaning Your Electric Toothbrush Matters
A dirty brush head and handle don’t just look bad—they actively work against your hygiene. If you skip cleaning, you’re letting bacteria and mold thrive right where you put your mouth twice a day.
The Hidden Health Risks
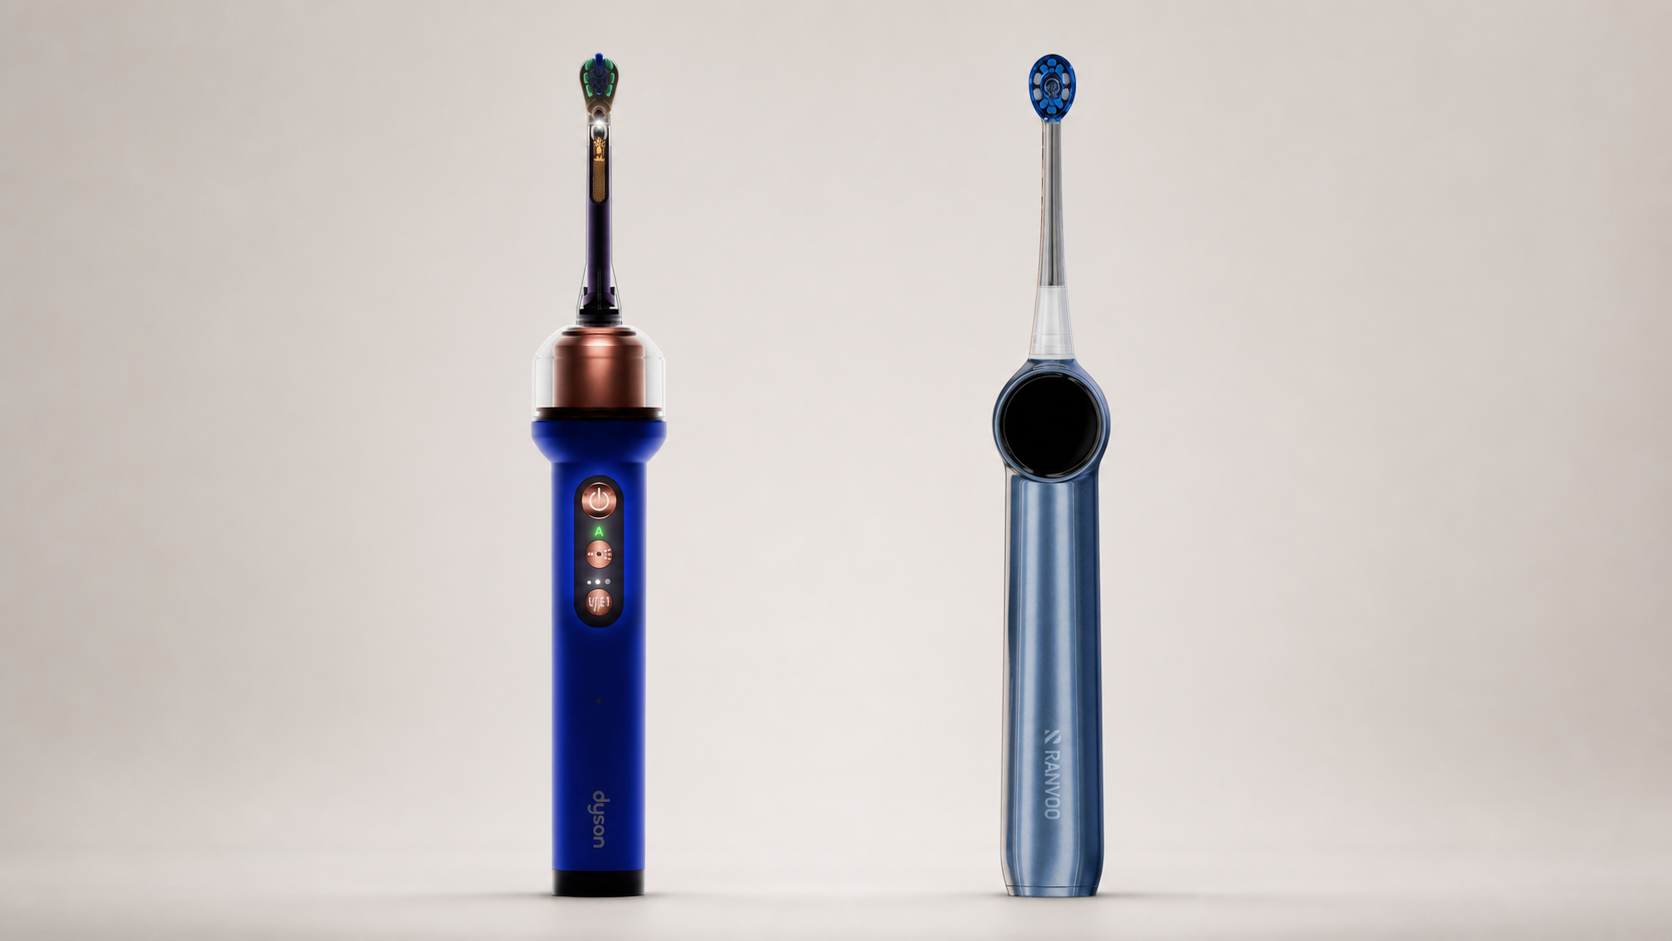
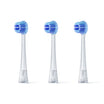
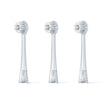
When you rinse only the bristles, you ignore the warm, moist crevices where biofilm forms. This slime can harbor Streptococcus mutans (the cavity-causing bacteria), Candida yeast, and bathroom molds like Aspergillus. These pathogens can lead to recurring bad breath, gum inflammation, and even reinfections after a cold. If you have sensitive or bleeding gums, the risk is compounded—which is why choosing the right toothbrush is essential. The RANVOO AirJet X5 electric toothbrush, built with gentle foam technology and designed for gum care, offers a deep yet safe cleaning experience that reduces the likelihood of aggravating existing sensitivity.
Performance and Battery Life
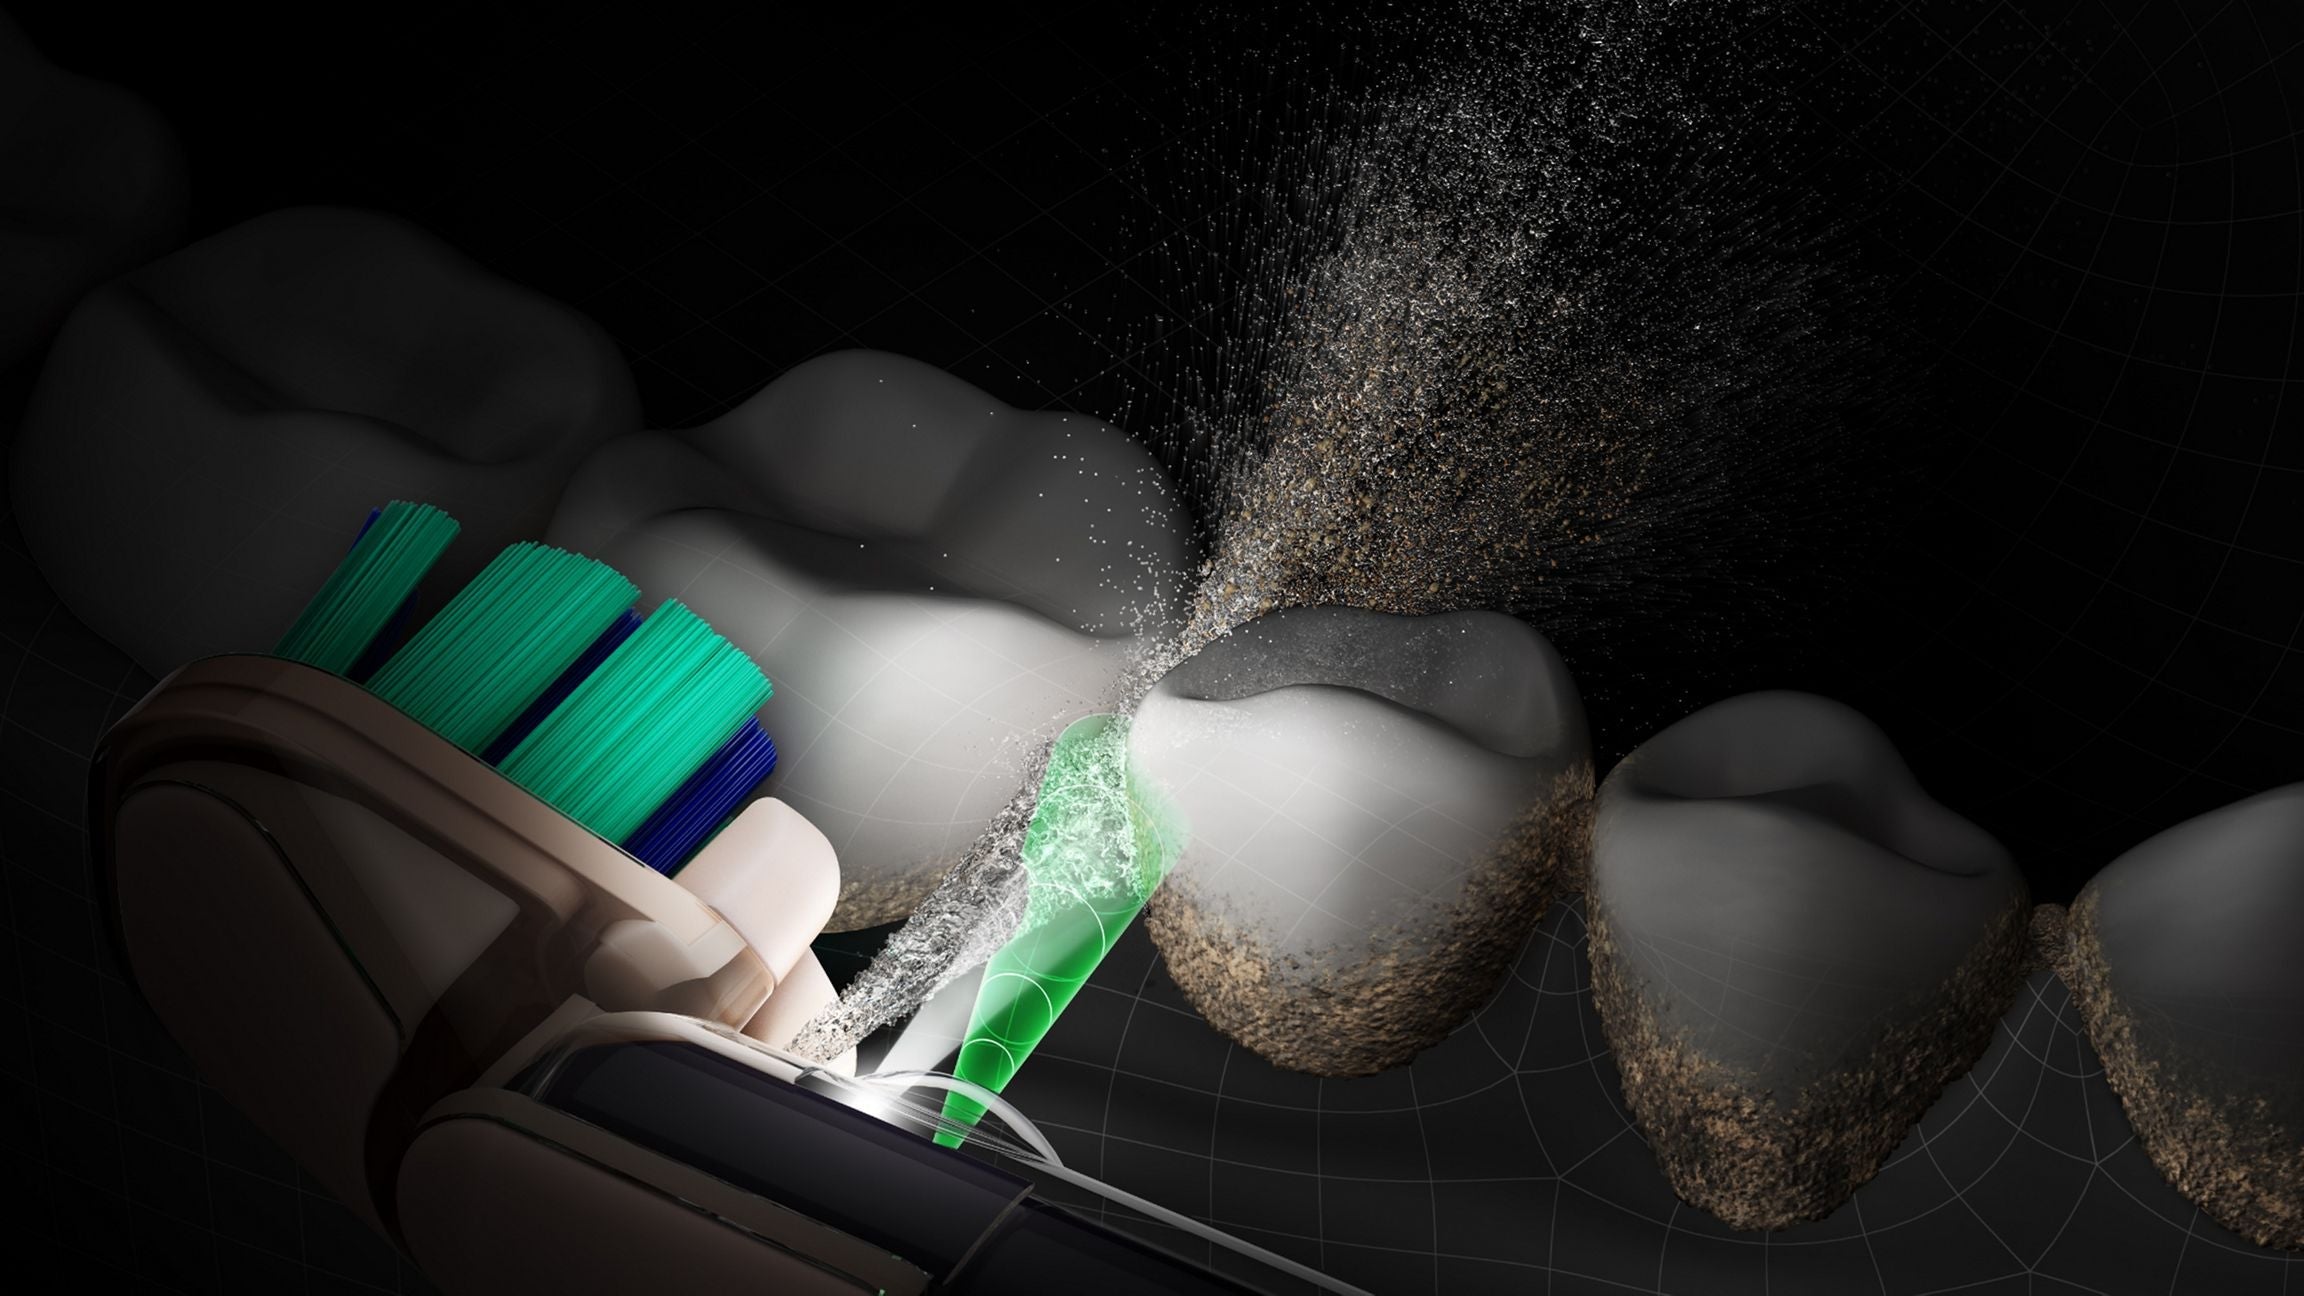
Dried toothpaste residue acts like glue. It forces the motor to work harder, reducing vibration strength and slowly eating into battery life. A clean brush maintains its full oscillating or sonic power, meaning better plaque removal every session.
What Parts of Your Electric Toothbrush Need Regular Attention?
Think beyond the bristles. A complete cleaning covers four distinct zones:
- Brush head – bristles, the internal cavity, and the rubber gasket where the head attaches.
- Handle / body – button seams, silicone grips, and the metal post at the top.
- Charging base / stand – the well where drips collect and the electrical contacts.
- Accessories – travel case and brush head caps.
Just as system administrators query configurations to catch hidden problems early, you should treat your toothbrush inspection with the same methodical mindset.
When Should You Clean Your Electric Toothbrush?
Make this rhythm a habit:
After every use – rinse and separate.
Weekly – deep clean the connection joint and gasket.
Monthly – disinfect the brush head, scrub the charger, and wipe down the handle thoroughly.
A Step-by-Step Deep Clean
This routine takes 5–7 minutes and stops the grossness before it begins.
1. Complete Dissection and Thermal Rinse
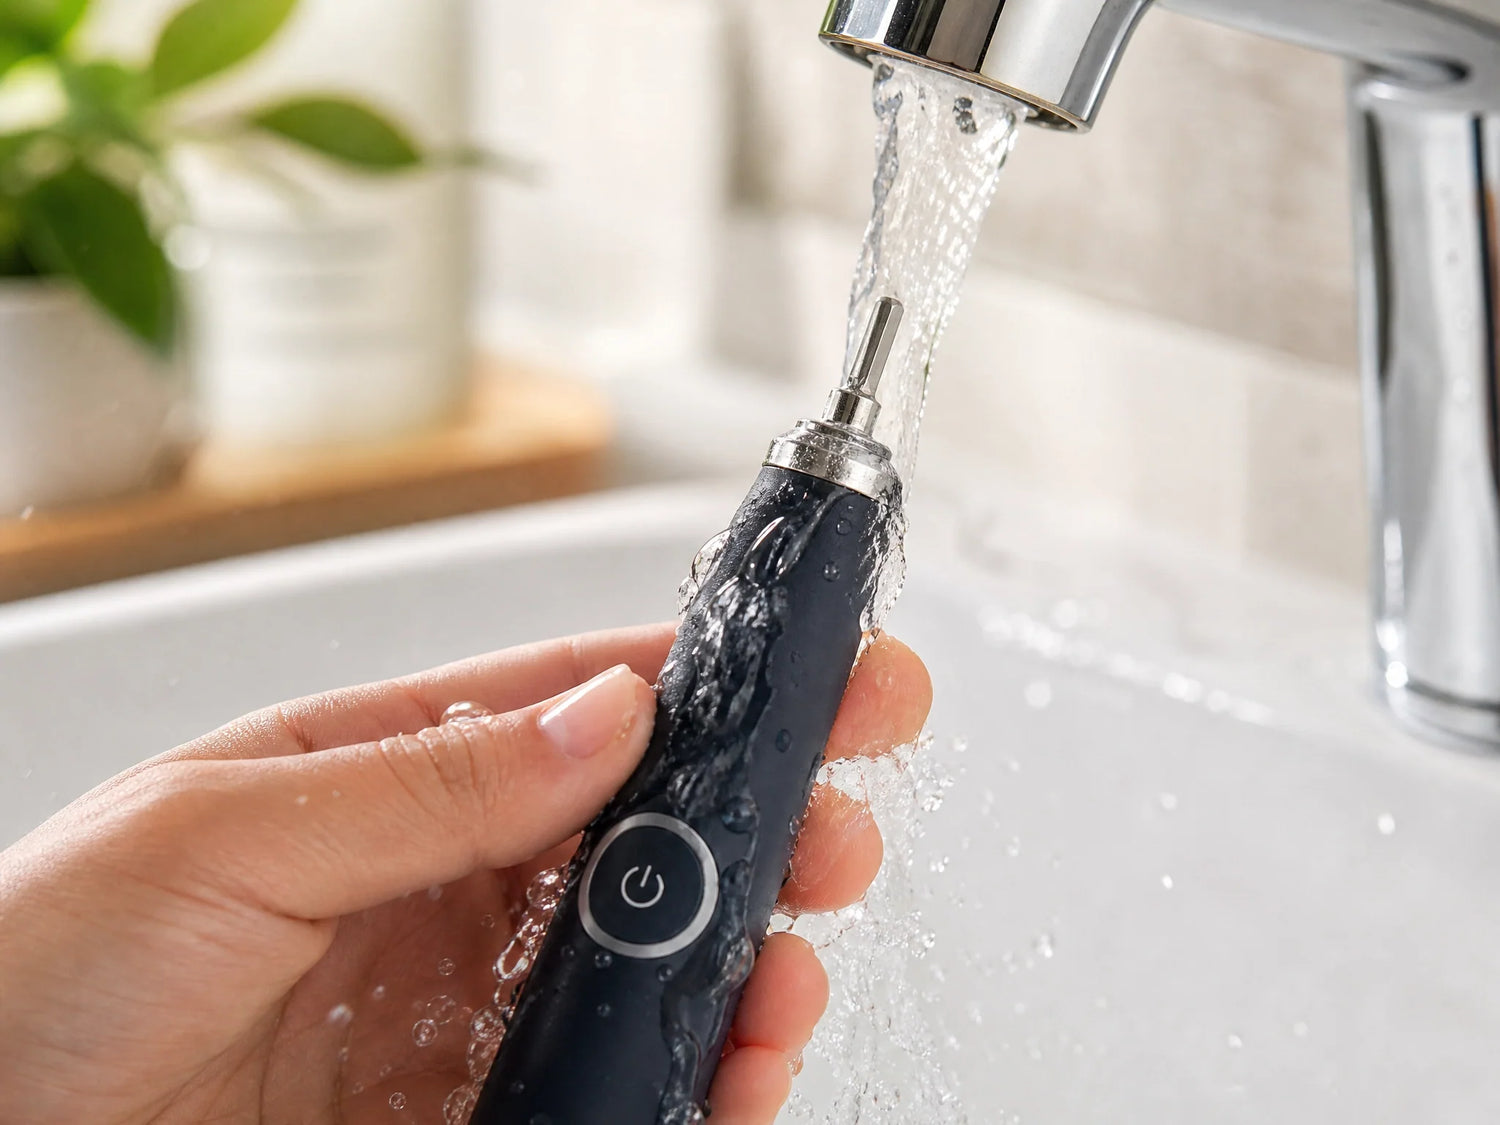
Twist off the brush head. Run it under hot running water while massaging the bristles with your thumb. The heat helps dissolve the toothpaste residue (silica and sodium lauryl sulfate film) that cold water leaves behind. Do the same for the metal drive shaft on the handle—just a quick rinse, never submerge the body.

2. Targeting the Hidden Sludge at the Connection Joint
Pull back the rubber seal or gasket at the base of the brush head. Use an interdental brush or a cotton swab dipped in soapy water to gently scrub inside the hollow cavity. That foul-smelling protein-based film is the result of saliva and toothpaste mixing with trapped water/moisture. Wipe the metal post on the handle the same way.
3. Sanitizing the Handle Without Destroying Electronics
Dampen a soft cloth with mild dish soap or a hypochlorous acid spray. Wipe the entire handle / body, paying extra attention to the power button seam. Never submerge the handle or put it in a dishwasher—your toothbrush’s IP rating (like IPX7) means it can handle rinsing, not immersion.
4. Proven Disinfection Methods for the Brush Head
Compare three safe approaches:
| Method | How to do it | Best for | Caution |
|---|---|---|---|
| 3% Hydrogen peroxide soak | Soak bristles for 10–15 minutes, then rinse thoroughly. | Deep disinfection, kills most bacteria and yeast. | Avoid daily use to preserve bristle integrity. |
| Antibacterial mouthwash swirl | Swish head in alcohol-free mouthwash for 30 seconds. | Quick refresh between weekly deep cleans. | Alcohol-based rinses can degrade nylon bristles over time. |
| UV-C sanitizer | Place in a dedicated UV sanitizing case, run a cycle. | Easy daily sanitization with no chemicals. | Doesn’t remove physical debris; still needs a manual scrub weekly. |
[Image Generation Prompt: A row of three brush heads: one soaking in a small glass of clear hydrogen peroxide, one being lowered into a UV sanitizer case, and one resting on a clean white towel, minimal still-life style, bright bathroom light]
5. Scrubbing the Charger Base and Cord
Unplug the charging base. Use a dry cotton swab to remove loose dust, then dip another swab in isopropyl alcohol and gently scrub the contacts. For the dreaded “pink slime” (often Serratia marcescens) that feeds on phosphate from toothpaste drips, scrub with a vinegar-dampened cloth. Let everything dry completely before reconnecting.
6. The Critical Drying Protocol
Pat the metal shaft dry with a lint-free towel. Shake excess water from the brush head and leave the head and handle apart in an upright, open-air holder. Drying fully before reassembly stops gasket rot and mold. Only use a travel case when the toothbrush is bone-dry.
Where to Store Your Toothbrush for Maximum Hygiene
Do this: * Store the handle upright with the head detached. * Keep it at least three feet away from the toilet (to avoid toilet plume). * Use a well-ventilated holder, not a drawer or closed cabinet.
Avoid this: * Never cap a wet brush head—it becomes a mold incubator. * Don’t store the toothbrush flat, as that traps water inside the head connection. * Don’t keep it on a damp charging stand without regular wipe-downs.

Long-Term Maintenance Habits
Stick to the Replacement Schedule
Replace your brush head every 3 months, or sooner if the bristles splay. Even perfect cleaning can’t reach the interior stuffing that becomes a bacterial reservoir over time.
Choose the Right Cleaning Agents
- Safe: mild dish soap, diluted white vinegar, 3% hydrogen peroxide, hypochlorous acid.
- Avoid: bleach (corrodes rubber), acetone (cracks plastic), boiling water (destroys electronics and bristles).
Everyday Mistakes That Create Biofilm
- Leaving the brush head attached after use.
- Storing the toothbrush in a sealed container.
- Overtightening the head (crushes the gasket).
- Sharing a handle without cleaning the drive shaft between users.
- Ignoring the charger base until visible mold appears.
A clean electric toothbrush isn’t a luxury—it’s the foundation of every effective brush stroke. For those with sensitive gums, the right tool makes all the difference. The RANVOO AirJet X5 electric toothbrush, with its patented “Bubble Brush” technology, ensures a thorough clean without the harshness that can trigger bleeding or pain. With these simple habits and a brush tailored to your needs, you’ll protect your smile and your investment for years.